Understanding Plastic Legs for Furniture and Their Benefits
Material Considerations for Furniture Legs (Including Plastic)
When looking at table legs, plastic has some real benefits over wood or metal options. Wood definitely looks nice and classic, but needs regular sealing to keep water out. Metal is strong stuff, no doubt about that, though it can rust if not treated properly. Plastic on the other hand weighs next to nothing, won't absorb moisture, and generally costs less upfront. The latest numbers from the 2024 Furniture Materials Report show something interesting too plastic legs hold up against dampness way better than plain wood does. They last about 43 percent longer before showing wear in places where humidity is a problem. That makes plastic a smart choice for tables in kitchens where spills happen all the time, bathrooms with constant steam, or even patio furniture that gets caught in unexpected rain showers.
Common Fitting Types and Attachment Mechanisms for Plastic Legs for Furniture
Plastic legs typically use three installation methods:
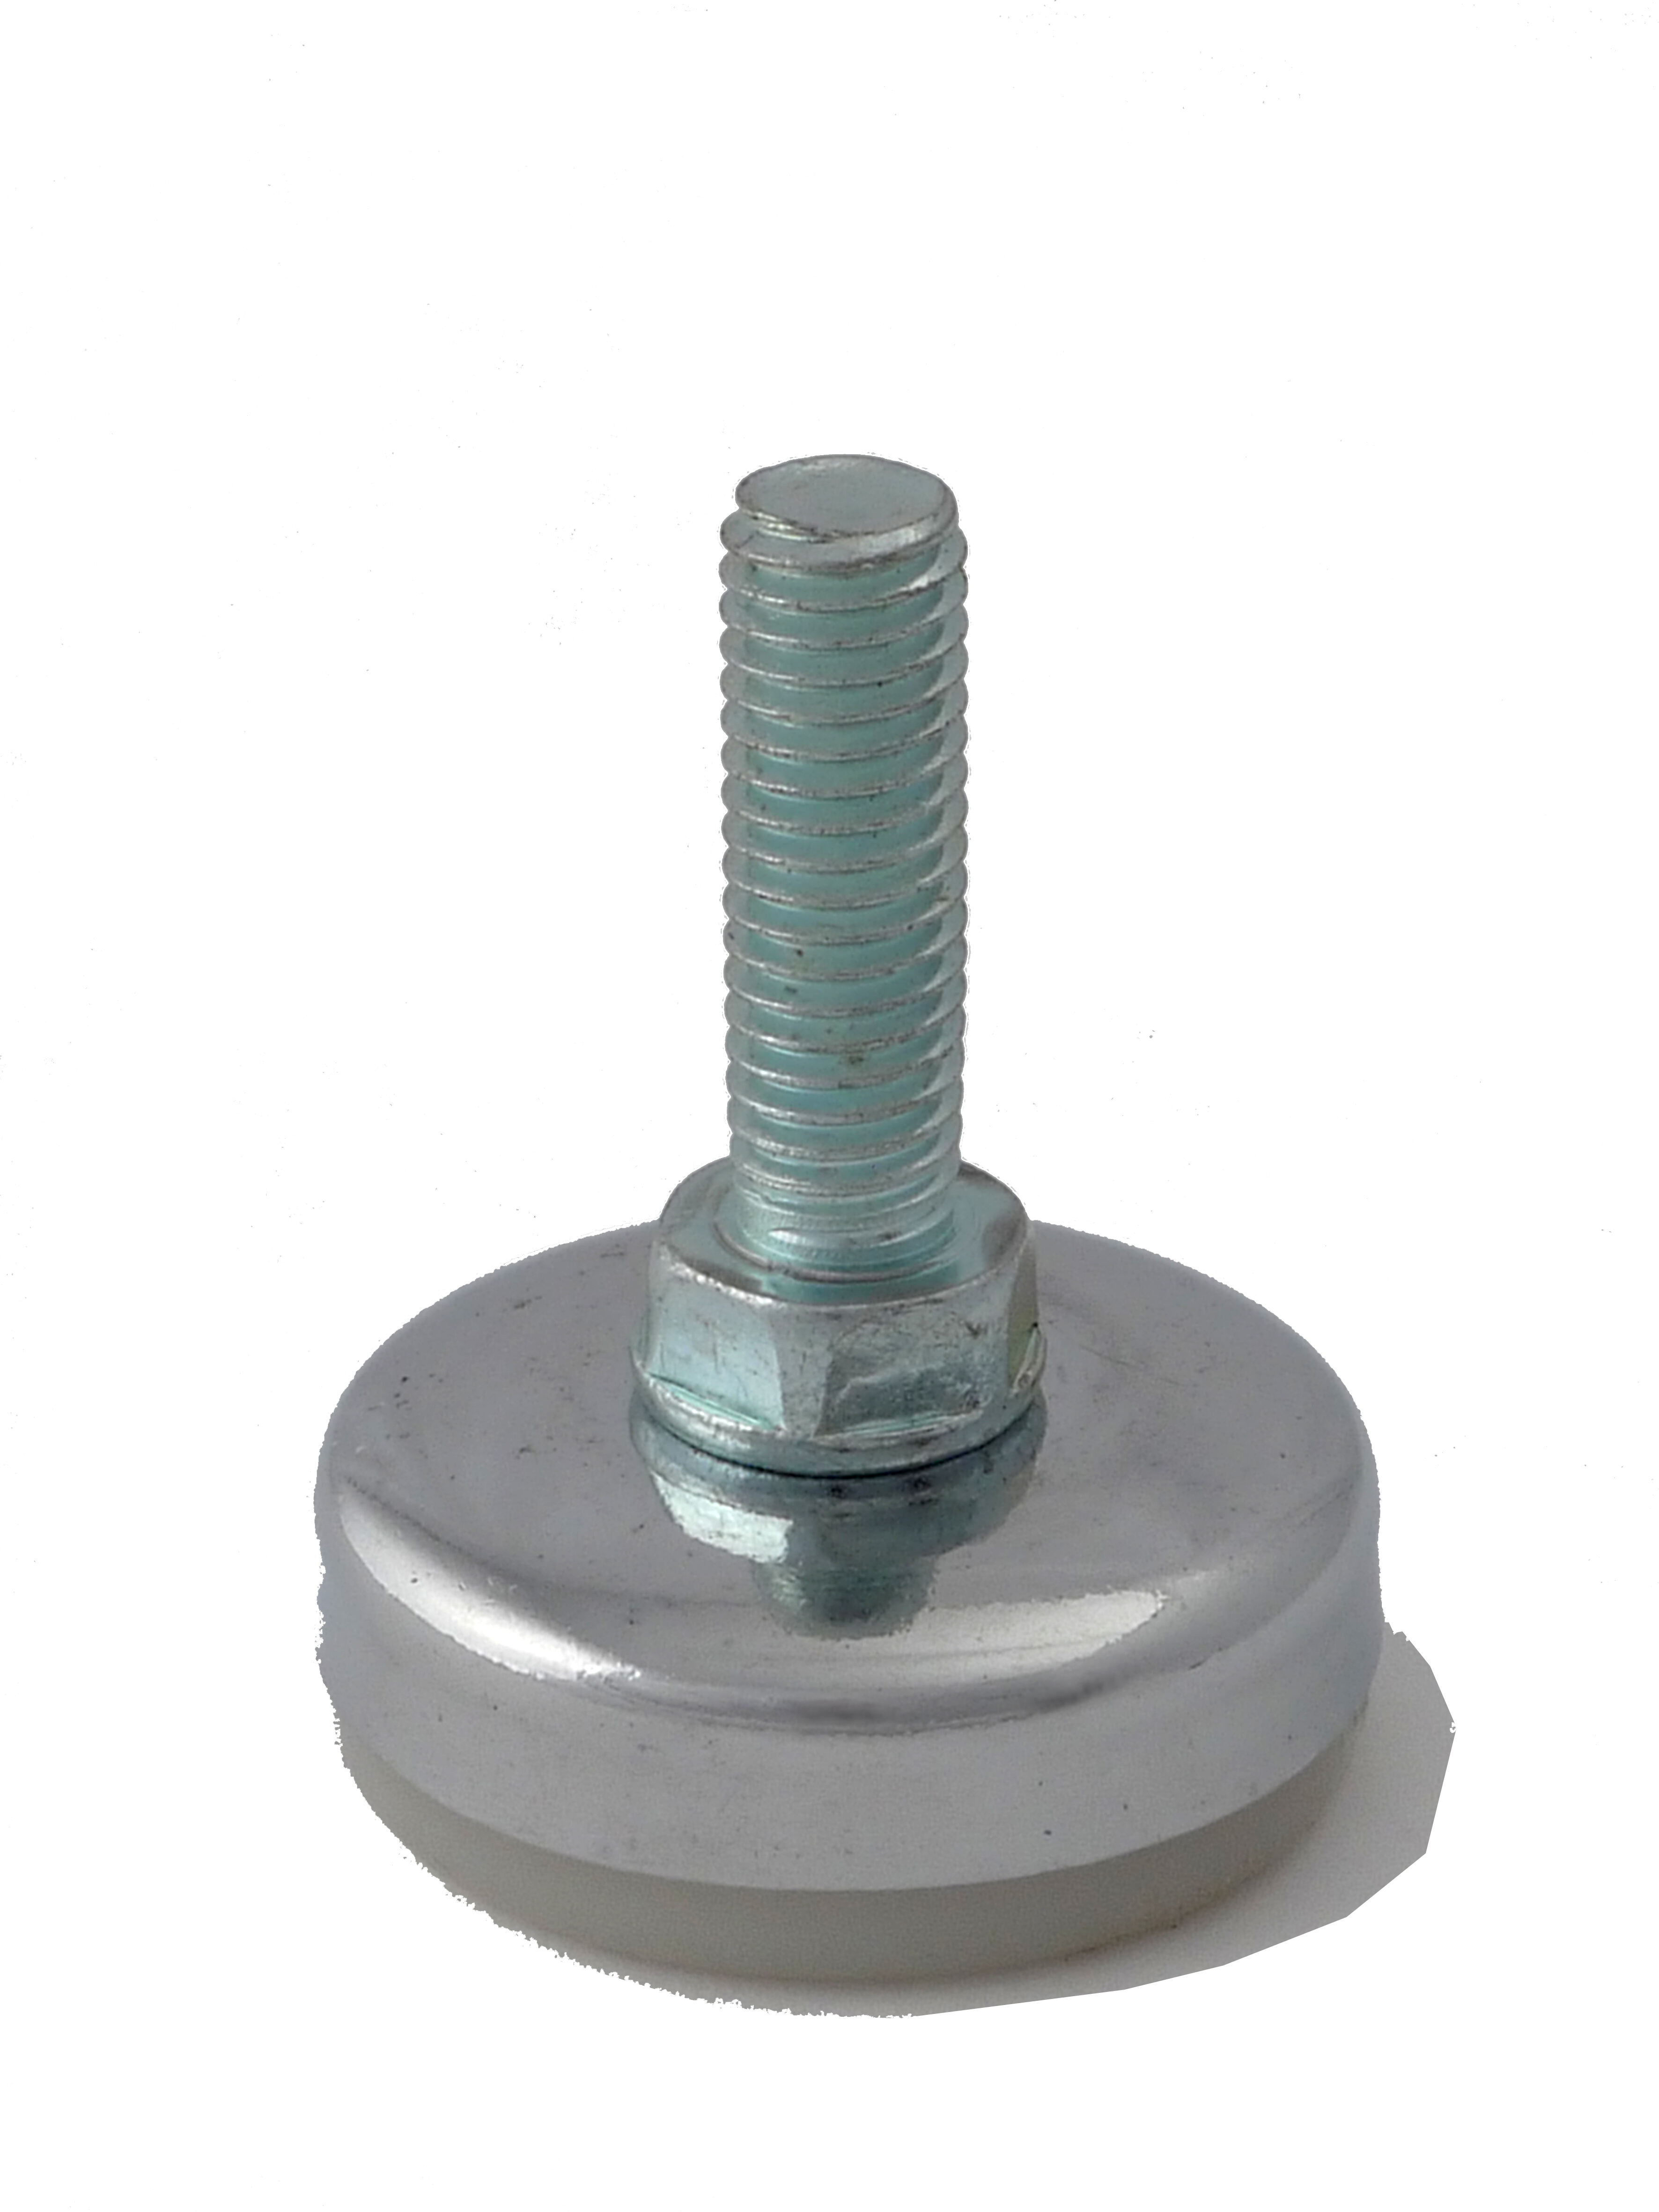
- Screw-in legs: Pre-threaded bases that attach directly into furniture frames
- Glide systems: Rubber-tipped legs that snap into mounting plates
- Clamp-on designs: Adjustable brackets that secure to furniture edges without drilling
These mechanisms simplify installation compared to wood legs, which often require complex brackets, or metal legs, which may need welding or heavy-duty fasteners.
Advantages of Plastic Legs Over Wood or Metal Alternatives
Plastic furniture legs mean less work over time since they don't stain or need protection against rust. They're also much lighter too weighing around 60 percent less than their metal counterparts yet still hold up to about 150 pounds each on average for regular models. The way these legs are made through molding keeps them all pretty much the same size and stops them from bending out of shape which often happens with wood. When money is tight, going plastic saves anywhere from 30 to 50 percent compared to buying similar quality metal or solid wood legs for furniture pieces.
Tools and Preparation for Installing Plastic Legs for Furniture
Essential tools and materials needed for installation
Gather the following before beginning:
- Adjustable wrench or Allen keys (based on leg hardware)
- Drill with a 1/8" pilot bit for pre-drilling screw holes
- Thread-locking adhesive to prevent loosening under load
- Level and measuring tape for accurate placement
- Non-abrasive cleaner to prepare surfaces
Most plastic legs use threaded inserts or screw-on plates, so verify the included hardware (e.g., M6 bolts, 1/4" screws). For heavier furniture, consider adding corner brackets to reinforce joints.
Preparing the workspace and furniture for leg replacement
Find a space on the floor that's both level and brightly lit where we can turn the piece over completely. When taking off old legs, remember to twist them counter-clockwise. If they refuse to budge, give those stubborn screws some penetrating oil first. For any spots on the base that aren't quite even, run some medium grit sandpaper over them until everything sits flat against whatever surface it'll be placed on. After sanding, clean up all the dust with a good quality microfiber rag because leftover particles really mess with how stable things end up being. And don't forget to take stuff out of drawers in cabinets or dressers before starting anything serious. Less weight means fewer chances of something toppling over while working on it.
Removing Old Legs and Preparing the Attachment Surface
Safely removing existing legs without damaging the furniture frame
Make sure the furniture stays put while working on it so nothing shifts around unexpectedly. Grab whatever tool works best for the job - usually a screwdriver, maybe a wrench or pliers if needed - and take your time removing those legs. Apply steady pressure but don't rush it, otherwise we all know what happens when screws get stripped. If the legs are glued on, give them a gentle tap with a rubber mallet only when absolutely necessary. Trust me, too much force will cause problems. According to some survey last year, over 80% of folks messing with their own furniture ended up damaging something because they went too hard at it. Before taking anything apart completely, look underneath those fabric covers or along the edges where there might be hidden screws or extra brackets holding things together. Miss those and you'll end up with pieces that just won't fit right later.
Cleaning and preparing mounting points for new plastic legs for furniture
Start by vacuuming away any debris and give those mounting surfaces a light sanding with 120 grit paper so everything sticks properly. Get rid of leftover glue spots and grime buildup with some rubbing alcohol, paying special attention to those hard to reach areas around the screw holes. When dealing with plastic legs that screw in, take care to remove old adhesive from the threaded parts either with a toothpick or blast them clean with compressed air if available. Deep scratches need filling too. Grab some wood filler for this job and let it dry completely overnight before proceeding. We've seen what happens when folks skip this step the stress gets distributed unevenly across the surface which leads to early wear problems down the road once those new legs are attached.
Measuring, Marking, and Aligning Plastic Legs for Furniture
Accurately Measuring and Marking Leg Placement
Start by getting the dimensions of the furniture base so we can figure out where those legs should go. A good rule of thumb is to mark spots about 2 to 4 inches inside each corner point. This helps keep things looking even and prevents wobbling later on when the piece is assembled. When dealing with odd shaped bases, try tracing around it on a piece of cardboard first. This makes creating a template much easier for folks who aren't exactly sure how everything fits together. Before making any actual holes, take a moment to check if the corners form a proper square. Just measure across both diagonals - if they match up then great job! Once confirmed, proceed with drilling those pilot holes carefully.
Ensuring Even Height and Alignment Across All Legs
Grab a carpenter's level and check those height differences between the floor and your furniture. Adjust each leg one at a time until that bubble sits right in the middle mark on both axes. Some interesting work coming out of MIT indicates these adjustable plastic feet actually handle uneven floors pretty well, fixing issues up to around 15 millimeters deep. That makes them rock about 60 something percent less than regular fixed legs according to their tests. Once everything seems balanced initially, give the whole piece a quarter turn clockwise so we can double check how stable it feels from different angles too.
Using Templates or Guides for Consistent Positioning
For multi-leg installations like sectionals, use painter’s tape or 3D-printed jigs as alignment guides. Install the first leg precisely, then replicate its position across other corners using consistent measurements. This approach ensures uniform spacing and prevents asymmetry in pre-drilled setups.
Common Mistakes in Leg Placement and How to Avoid Them
- Rushing the marking phase: Verify all measurements twice before drilling
- Assuming floors are level: Test each leg’s contact independently with a coin
- Over-tightening plastic threads: Stop tightening when resistance increases to avoid stripping
Installing and Adjusting Plastic Legs for Furniture for Stability
Step-by-step installation using screw-in, glide, and clamp-on methods
When attaching plastic legs, make sure they line up with those pre-drilled holes or mounting plates first. If working with screw-in type legs, start by tightening them by hand in a clockwise direction until they feel secure. Then give them an extra quarter turn using a wrench, but be careful not to go too far and risk damaging the threads. Glide style legs work differently - just push them into their sockets until there's a satisfying click sound, which means the locking collar has caught properly. For clamp on systems that are great for lighter furniture pieces, place the brackets underneath the edges carefully. Slowly tighten those adjustment knobs bit by bit rather than forcing them all at once, since sudden pressure can cause unwanted cracks. Remember to check what the manufacturer says about proper torque levels. Following these guidelines helps maintain both strength and flexibility in the materials used.
Securing legs properly to ensure durability and load-bearing safety
Give each installed leg a good press down with about 20 pounds of force. Some gentle squish is okay, but if there's any creaking noises or wobbling, that's not right. When dealing with heavier furniture above 100 pounds, throw in those steel washers at the mounting spots. They help spread out the weight better and prevent stress points from forming. Don't forget to give those screw-in legs a quick check once a month for the first twelve months. Temperature changes tend to play tricks on them, slowly working their way loose over time. And watch out for PVC legs sitting in direct sun all day long. The UV rays will break them down eventually, cutting their strength by nearly half after extended exposure. Better safe than sorry when it comes to supporting heavy stuff.
Testing balance, adjusting leg height, and troubleshooting alignment issues
To check how furniture wobbles, set it down on a smooth glass or hard floor surface first. Turn those adjustable legs counter-clockwise bit by bit - about an eighth of a full turn each time - until the annoying wobble finally disappears. Sometimes though, even after adjusting, one leg remains shorter than others. That's when adding a thin piece of material underneath the short leg (called shimming) can fix things up nicely. When dealing with persistent alignment issues, try marking where each leg sits using painter's tape before moving anything around. This lets us test different arrangements without losing track of original positions. Floors that slope more than 3 degrees present special challenges. For these situations, combining regular 2 inch plastic legs with some good quality adhesive leveling pads usually provides much better stability overall.
Frequently Asked Questions
Why should I choose plastic legs over wood or metal?
Plastic legs are lightweight, cost-effective, and resistant to moisture, making them ideal for humid environments or outdoor use.
What tools are necessary for installing plastic furniture legs?
You'll need an adjustable wrench or Allen keys, a drill with a pilot bit, thread-locking adhesive, a level, and non-abrasive cleaner.
How do I prevent plastic legs from loosening over time?
Regularly check screw-in legs and use thread-locking adhesive for added security. Ensure proper installation according to manufacturer's guidelines.
Are there specific installation methods for plastic legs?
Yes, plastic legs often use screw-in, glide, or clamp-on methods, each facilitating easy attachment and stability maintenance.
Table of Contents
- Understanding Plastic Legs for Furniture and Their Benefits
- Tools and Preparation for Installing Plastic Legs for Furniture
- Removing Old Legs and Preparing the Attachment Surface
- Measuring, Marking, and Aligning Plastic Legs for Furniture
- Installing and Adjusting Plastic Legs for Furniture for Stability
- Frequently Asked Questions


